
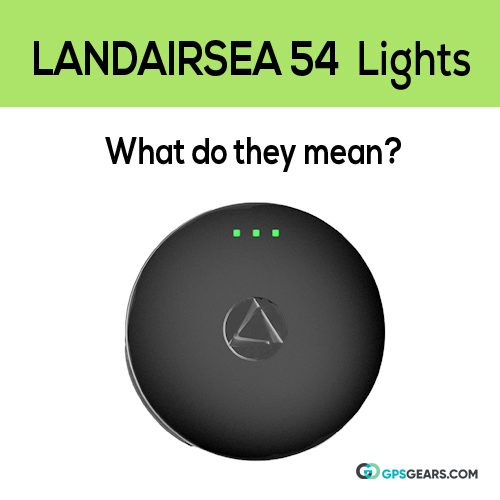
Having trouble figuring out your LandAirSea 54 lights? This could help.
We have become so used to our devices with screens that any gadget without a display feels old and cumbersome to use. GPS tracking devices are a good example of this.
Almost all handheld personal GPS trackers come without a screen or display unit, making it difficult to know about their battery status, GPS lock or cellular network reception directly. You have to check the mobile GPS app to get this info. One of the reasons why GPS trackers don’t have a screen is because they are supposed to be tiny, portable, rugged and easy to hide.
A number of GPS trackers use different colored LED light sequences to let the user know about the device’s health and status. It is important to know what are the different lights on your GPS trackers and what do they mean.
LandAirSea 54 GPS tracker has five lights of which two are red and three are green. This post is a quick guide to what do the different lights on your LandAirsSea 54 GPS tracker mean which will help you to use your GPS tracker more productively.
When starting the 54 GPS tracker for the first time
Use the on/off pin when starting the device. Upon inserting the pin you should hear a click and all 5 lights would come up momentarily to indicate the GPS tracker has been powered on. The device will take some to finish its startup sequence during which the green lights will flash to indicate the tracker is trying to establish GPS and cellular network connections. Your device will be ready to track when all three green lights become solid.
Charging while the device is off
When you plug the USB charger to your LandAirSea 54 GPS tracker while it is in off state, a red light will come up. This will stay on until the device is completely charged. When the charging is complete the light will turn off. It may take up to 4 hours to fully charge the 54 GPS tracker.
While the tracker is on
When the LandAirSea 54 GPS tracker is up and running all three green lights should be on. Upon plugging the charging cable, the red charging light will turn on. It will stay on until the device is completely charged.
Low Battery Indication
When your GPS tracker is running low on battery (20% or below) the power light at the bottom will switch from green to red. This indicates that it is time to recharge your device’s battery.
Dark Mode
Normally when the 54 is powered on its three green lights should be on. In dark mode the three green lights are off so that the device can be used covertly to avoid being detected. Dark mode can be activated using the SilverCloud mobile app.
When powering on your tracker in dark mode using the key provided, all five lights will come up for a while then go off. The device would still be tracking but lights would be off.
To turn off the 54 tracker in dark mode, use the pin and the power lights will flash red and green until the device is off.
| LED Sequence | Meaning | |
 | All 5 lights flashing | Device powering on |
 | 3 Green lights flashing | Start up sequence. Device establishing GPS and cellular connection |
 | Red light on | Device is charging |
 | 3 Green lights on | Device is on and tracking |
 | Power light turns from Green to Red | Device is running low on battery |
 | Power lights flashing Red and Green | Device being turned off in dark mode |
| No lights | Device turned off or in dark mode |
Hope this quick guide on LandAirSea 54 lights helped you. Feel free to comment below to share your thoughts and queries.
What does it mean when only two of the green lights are on and the green light in the middle is not?
I have the same issue.
My device only has two lights to green lights
I am having the same issue with no green light in the middle & the battery says WIRED even after the device has been unplugged from usb power. Any suggestions?
Actually I do you did to do a factory reset on the device we’re the charger goes the 2 circles on both sides of the port go to the left one and push the key you was given until you here a pop
What about just one flashing red light? Plugged in I think its saying that it fully charged take it off. Lol. Idk.
I’m having the same problem with mine. Did u ever find out what was wrong?
Whay does 1 blinking red light mean
Great tracker; but the light indicators are more than what’s given or listed. We need more info.
Did anybody give you an answer? I have the same question
How do you factory reset the landairsea 54 device.no lights at all will come on .no charging light or anything.ive only had it a couple weeks and retrieve it to charge and it won’t charge or anything.
There could be multiple reasons for this issue. If the tracker is not charging it could be a bad charger or charging port. Since you’ve had it for just a couple of weeks I would rule out a bad battery. Please contact LandAirSea tech support for help on this.
The gold brass that’s to the right of the charge port, gently press a paperclip into it until you feel a click. All the indicator lights should start blinking. Make sure it’s plugged in while doing this. Hope this helps.